Basics
Hello world
User input
While loop
If statement
For loop
Switch statement
Read file using ifstream
Write to a file using ofstream
Containers
Basic usage of std::list
Basic usage of std::map
Basic usage of std::vector
Data type conversion
Concurrency
Hello world in thread
Windows API with Exmaples
DeviceIoControl
FindFirstVolumeW
GetDiskFreeSpaceExW
GetLogicalDrives
GetLogicalDriveStrings
C++/WinRT
C++/WinRT Hello World
QNX
Using timer interrupt
Qt Cross-platform
Installing Qt Creator 9.0.1 on Windows 10
Qt console hello world
Qt Widget hello world
Qt Widget hello world code only
Keywords: C++, Qt, Programming, Tutorial
Sunday, September 21, 2025
Qt console hello world
Qt console hello world
This guide shows how a Qt console hello world looks like.
▣ Open Qt Creator and click on Create Project...

▣ Create Qt Console Application by following the section from @1 to
@3.




▣ Gist source code shown below for convenience
In Qt Creator 17.0.1/Qt 6.9.2, need to add QTextStream
▣ Running it using Qt Creator is well and good but we probably want to run
it external to the IDE. To deploy the binary with all the dependencies, open
the compiler environment used to build the application. In the case above we
have used Qt 6.4.1 (MinGW 11.2.0 64-bit).

cd \
md tmp
cd tmp
copy C:\Users\t\Documents\build-HelloWorldConsole-Desktop_Qt_6_4_1_MinGW_64_bit-Debug\HelloWorldConsole.exe
windeployqt HelloWorldConsole.exe
▣ The folder structure should look like this. It also shows a sample out
from the application.

Keywords: CPP, Qt, Hello World
Wednesday, December 28, 2022
Qt Widget hello world code only
Qt Widget hello world code only
This post shows how to create a Hello World Qt Widget application in pure code, not using the UI Designer.▣ Create a console application - consult this link for a quick guide.
▣ Change main.cpp like below
▣ Update CMakeList.txt like below
Sunday, December 25, 2022
Qt Widget hello world
Qt Widget hello world
Qt Widget "Hello World" using the Designer▣ Open Qt Creator and click on Create Project...

▣ Create Qt Widgets Application

▣ Set project location and provide a name - HelloWorld

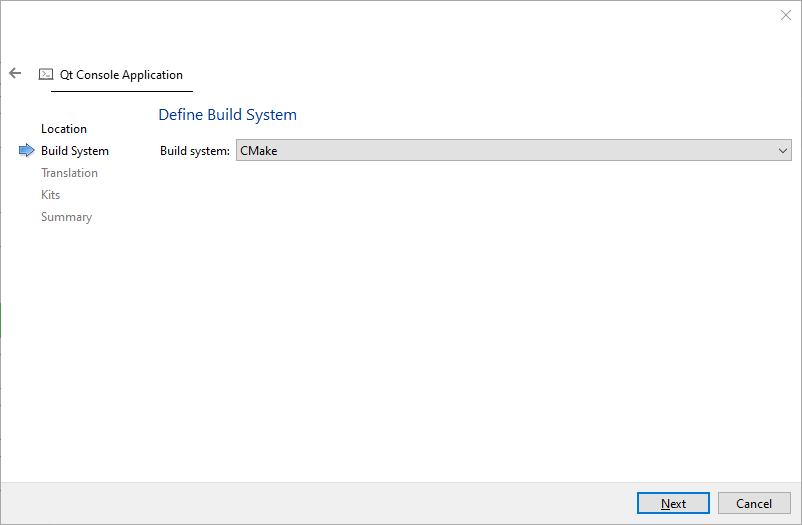
▣ Use CMake for the build system

▣ Use the default when defining the main class

▣ For the translation file, do the default for now

▣ Select the Kit (toolchain) to use - if you have followed this installation instruction then you will only have one option as below

▣ In the Summary, just do the default

▣ The HelloWorld project should show the editor with main.cpp files content. Double click on mainwindow.ui to open the designer.

▣ In the Controls palette, scroll all the way down and look for Label, then drag and drop into the canvas, see below. Then double click to change the text to Hello World. Change the size to show the entire text.

▣ Click on the Run button, see below for the location

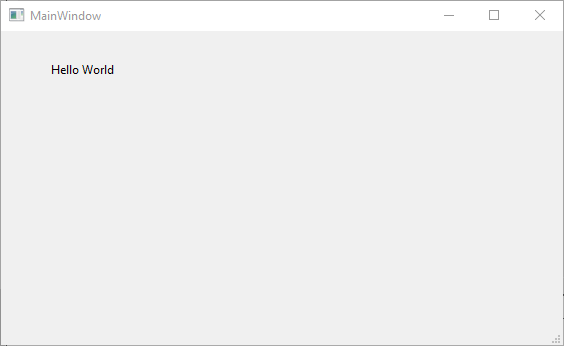
▣ An application with MainWindow title bar and Hello World text should show up. Congratulations on your first Qt application!
Keywords: Qt Creator, Hello World
Saturday, December 24, 2022
Installing Qt Creator 9.0.1 on Windows 10
Installing Qt Creator 9.0.1 on Windows 10
This is a quick guide on installing Qt Creator 9.0.1 on Windows 10. As of December 24, 2022, the latest available online installer is qt-unified-windows-x64-4.5.1-online.exe. Binaries can be downloaded from https://www.qt.io/download, I was using Qt for open source use.What follows are the screen captures to get working installation of Qt Creator (Qt 6.4.1).
 |
| Welcome Screen |
 |
| Accept open source obligations |
 |
| Welcome to open source Qt setup |
 |
| Contribute to Qt development |
 |
| Installation Folder - Custom installation |
 |
| Select Components - Use default, add "MinGW 11.2.0 64-bit" |
 |
| License Agreement |
 |
| Start Menu Shortcuts |
 |
| Ready to Install |
 |
| Installing |
 |
| Finished |
Keywords: Qt Creator, CPP
Installing Qt Creator 4.11.x on Windows 10
This is a quick guide on installing Qt Creator 4.11.x on Windows 10.
* Download the QT Online Installer (as of March 2020 it can be downloaded from here).
* Run qt-unified-windows-x86-3.2.2-online.exe and follow the installation wizard like below
Keywords: Qt Creator, MinGW 7.3.x
* Download the QT Online Installer (as of March 2020 it can be downloaded from here).
* Run qt-unified-windows-x86-3.2.2-online.exe and follow the installation wizard like below
 |
| Welcome screen |
 |
| Create an account or login |
 |
| Accept Qt Open Source obligations |
 |
| Setup Qt |
 |
| Contribute to Qt Create User Experience Development |
 |
| Select installation folder |
 |
| Select Components - Default selection |
 |
| Select MinGW 7.3.0 32-bit and MinGW 7.3.0 64-bit |
 |
| Under Developer and Designer Tools - check MinGW 7.3.0 32-bit/64-bit |
 |
| Accept License Agreement |
 |
| Start Menu Shortcuts |
 |
| Ready to Install |
 |
| Installing Qt |
 |
| Creating Maintenance Tool |
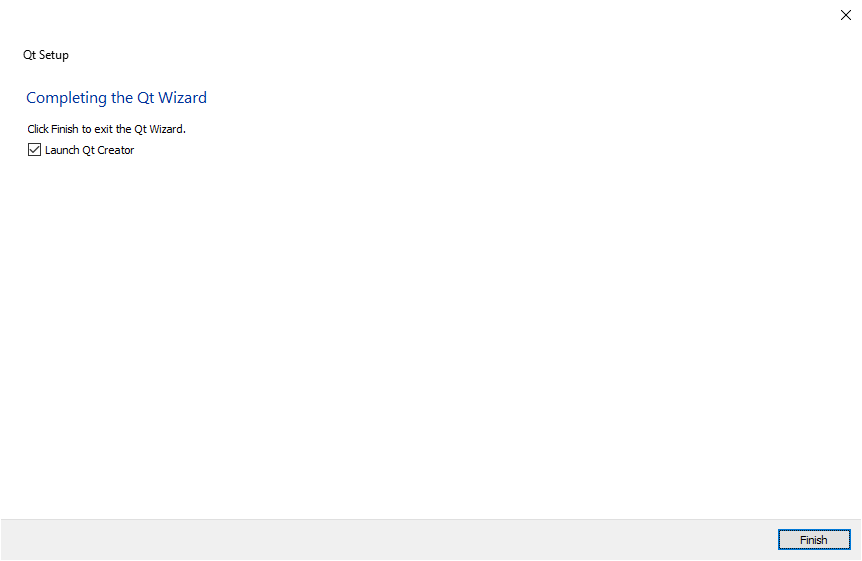 |
| Completing the Qt Wizard |
 |
| Qt Creator! |
Subscribe to:
Posts (Atom)
-
 Installing MonoDevelop in OpenSUSE 12.2 from its repository was very easy. When running it for the first time though I got the message: Th...
 -
Tried to update my Ubuntu host today and it did pickup that new version of VirtualBox is available (4.1.8). All other packages installed pro...
-
Minimal OPC UA client that auto generates self signed certificate on startup in C# This is minimal OPC UA client in C# that demonstrates se...